Amazon Product Setup
Setting up your in-app purchases in the Amazon Appstore
To set up products for the Amazon Appstore, start by logging into your Amazon developer account.
This guide assumes basic knowledge of the Amazon Appstore, as well as having an app set up and ready for adding in-app purchases. For more information, visit Amazon's documentation and guides for Amazon Appstore.
Create an In-App Purchase
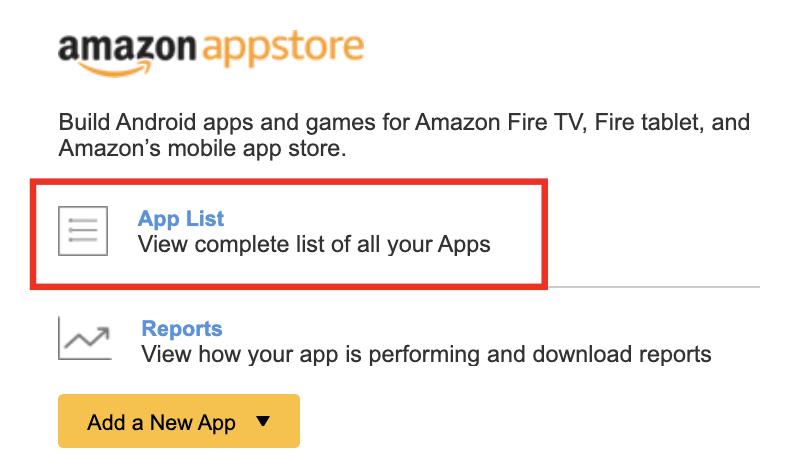
To create an in-app purchase, go to Amazon developer console and select 'App List' under Amazon Appstore.

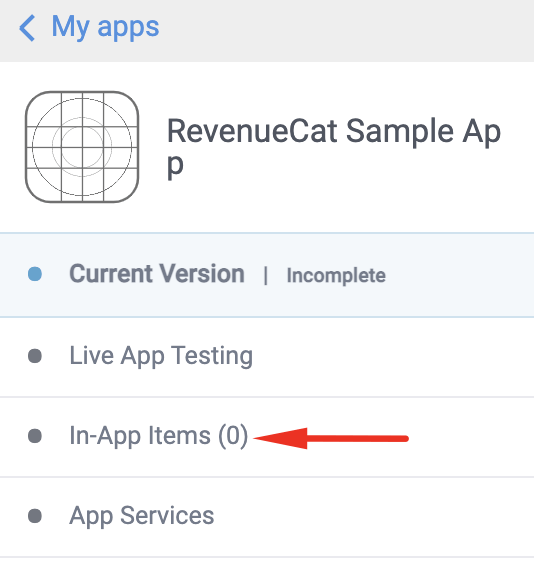
In the sidebar, select 'In-App Items'.
Click on '+ Add Single IAP'.
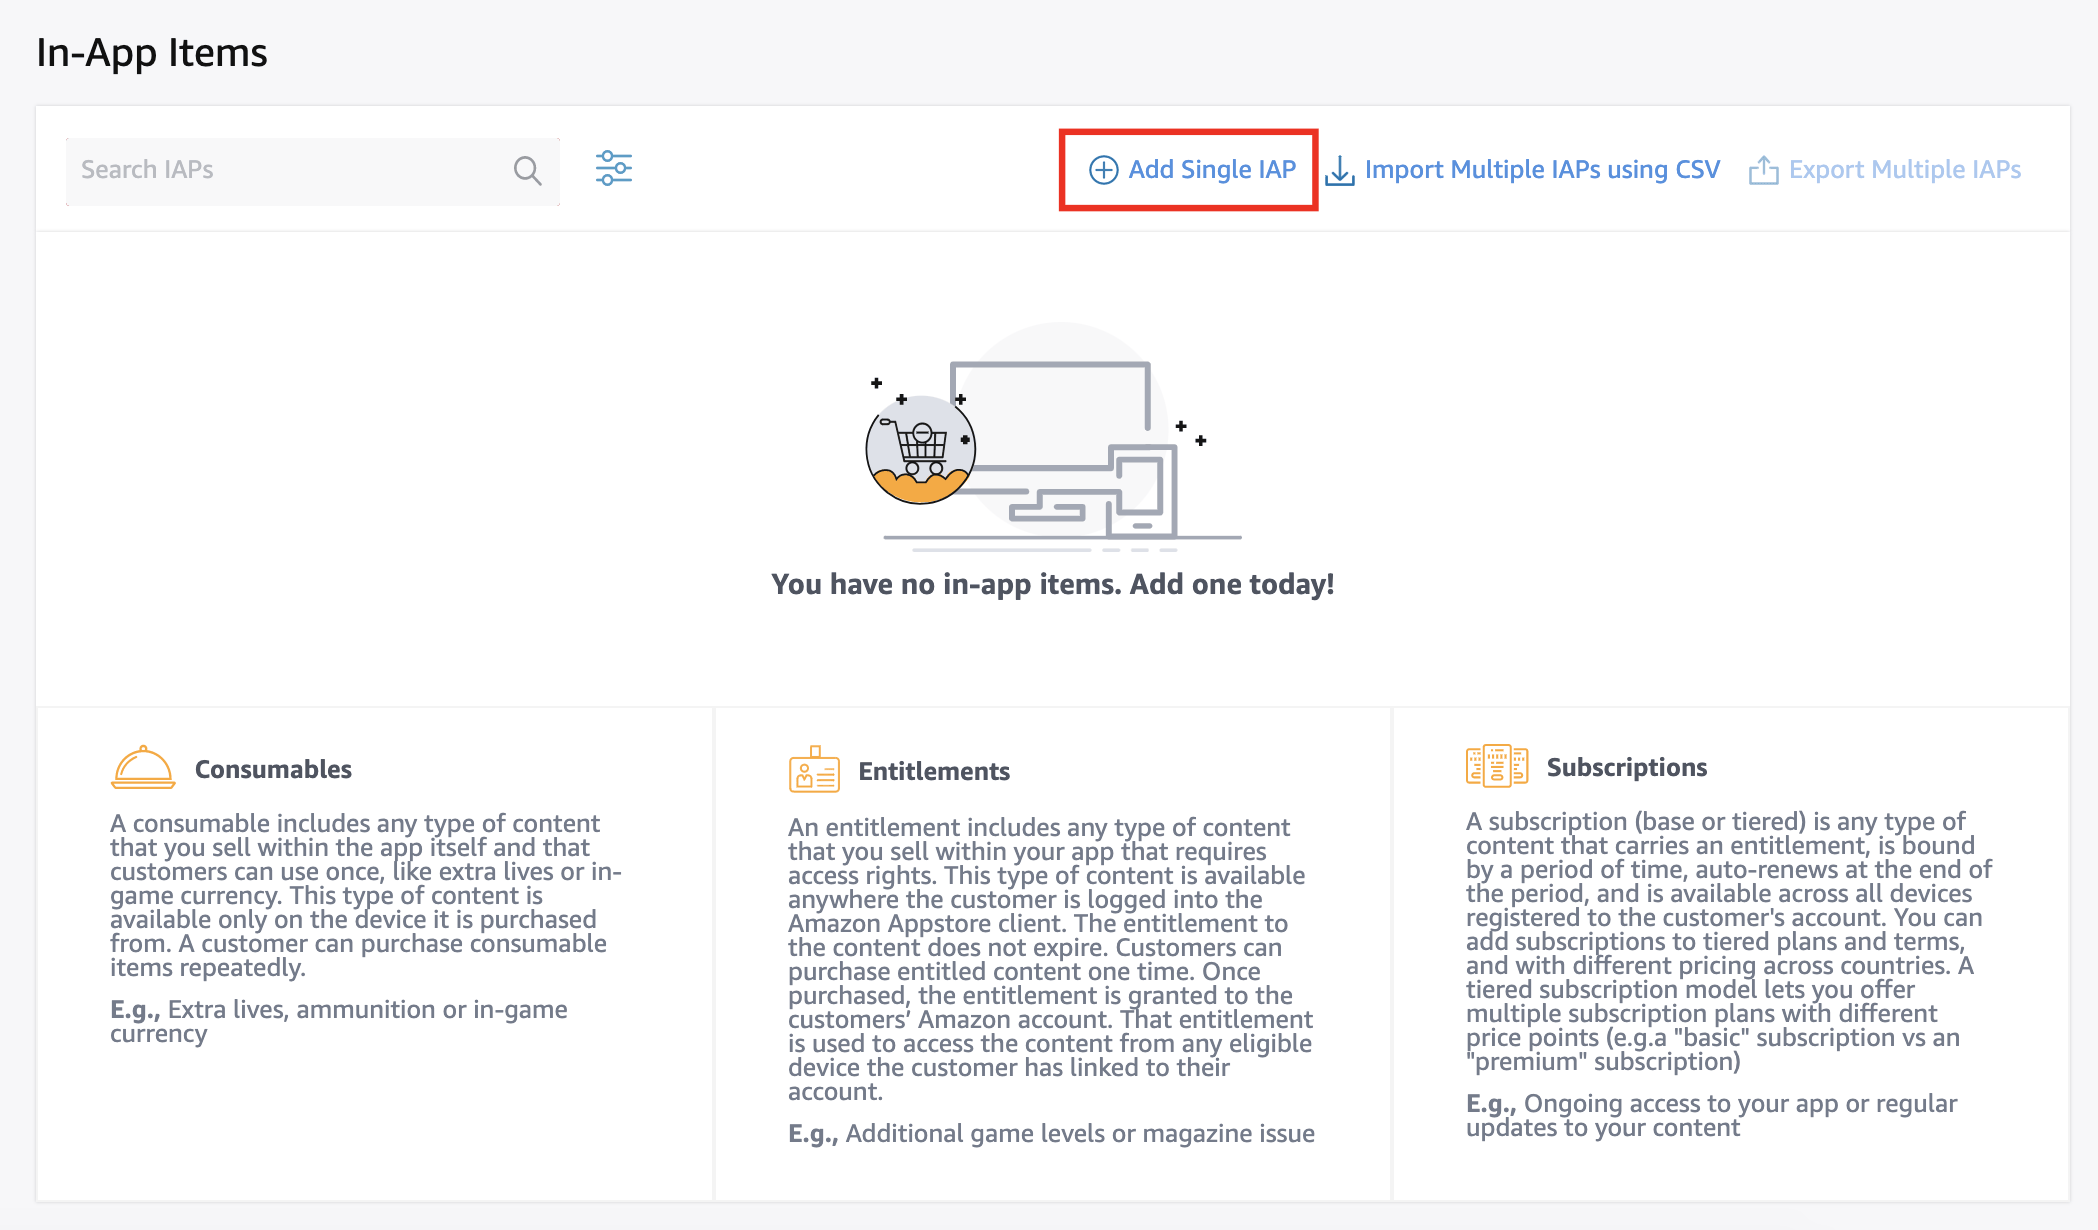
You will be presented with a dropdown where you select the type of in-app purchase you want to add to your app. We're going to show you how to set up a Subscription here, but the steps are similar for other types of in-app purchases.
Next, you'll be asked to provide a Subscription Title and a Subscription SKU.
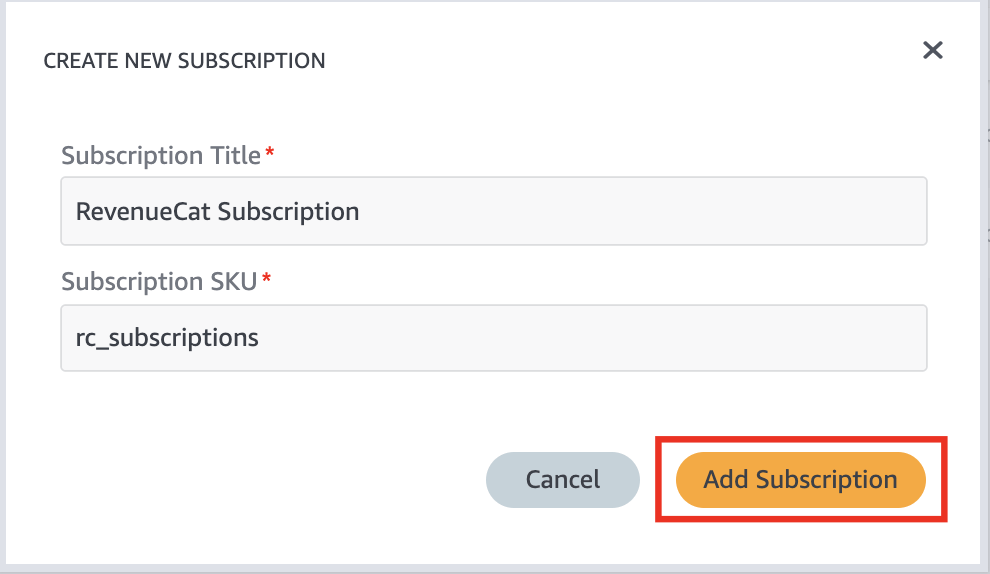
- Title: The title is the title of your item and will not be seen by the customer. The name cannot be longer than 128 characters.
- SKU: The SKU is a unique string that will become the ID for the item. The SKU must be unique across all IAP items in all of your apps. Note that SKUs are case-sensitive, cannot be longer than 150 characters, and can contain the characters a-z, A-Z, 0-9, underscores, periods, and dashes. Since this is a subscription item, this SKU becomes the parent SKU for the subscription term SKUs that you will create later.
After you click 'Add Subscription', you will be directed to the item's Details page where you can configure the following additional data:
- Description & Images: A display name and description images for the item.
- Subscription Terms (Subscriptions only): Specify subscription length and free trial information for the item. This is where you also set price for the subscription.
- Pricing (Amazon's Consumables and Entitlements only): Set the price for the item.
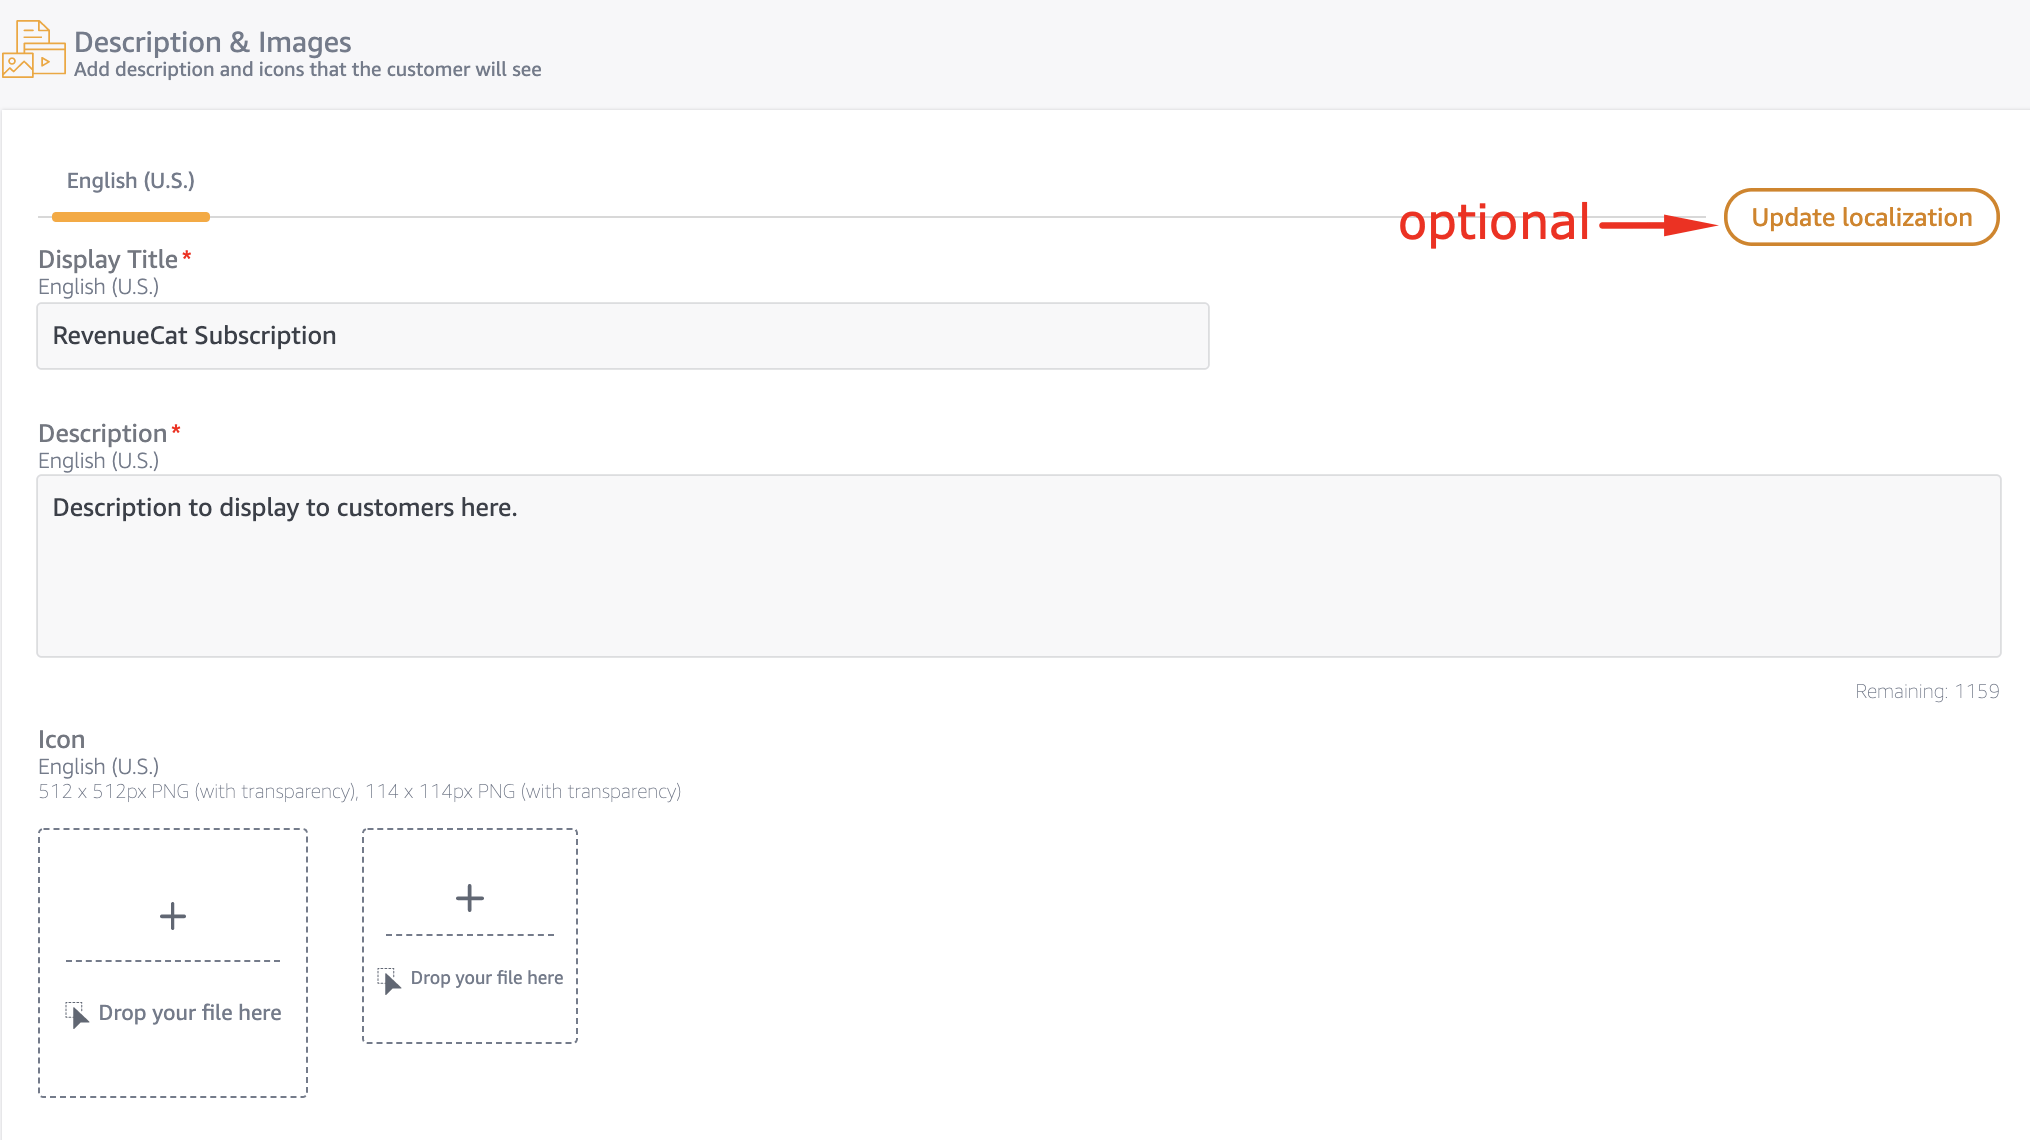
Under Description & Images, add a Display Title and Description. This is what your customers will see.
(optional)
- Update localization: Check off boxes for every language your app has been localized for.
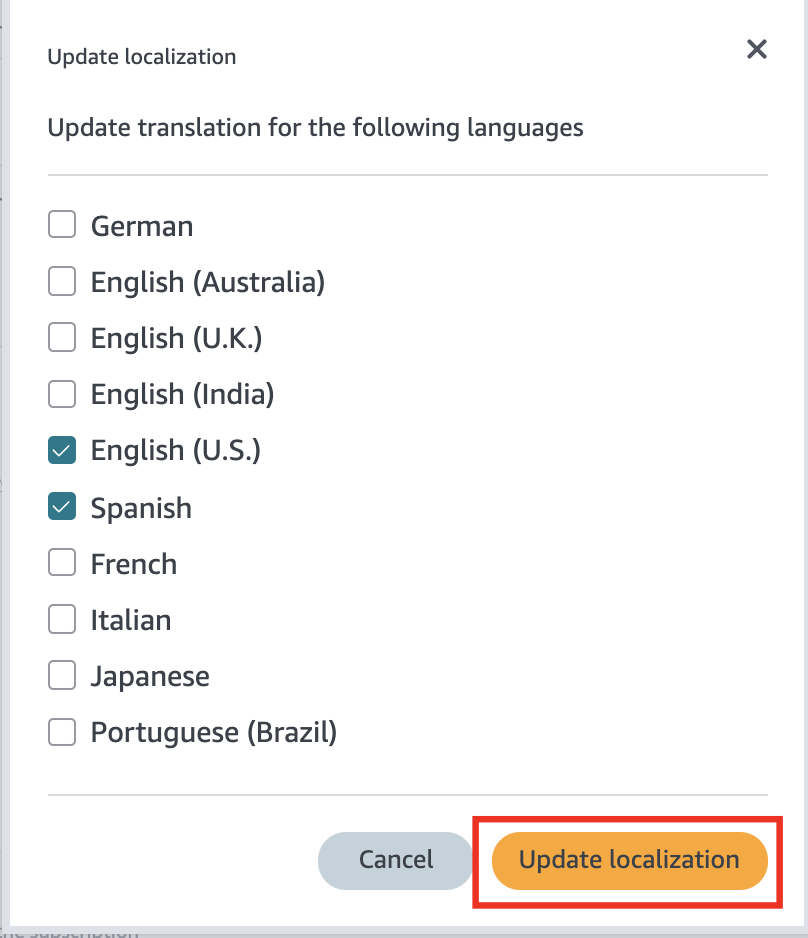
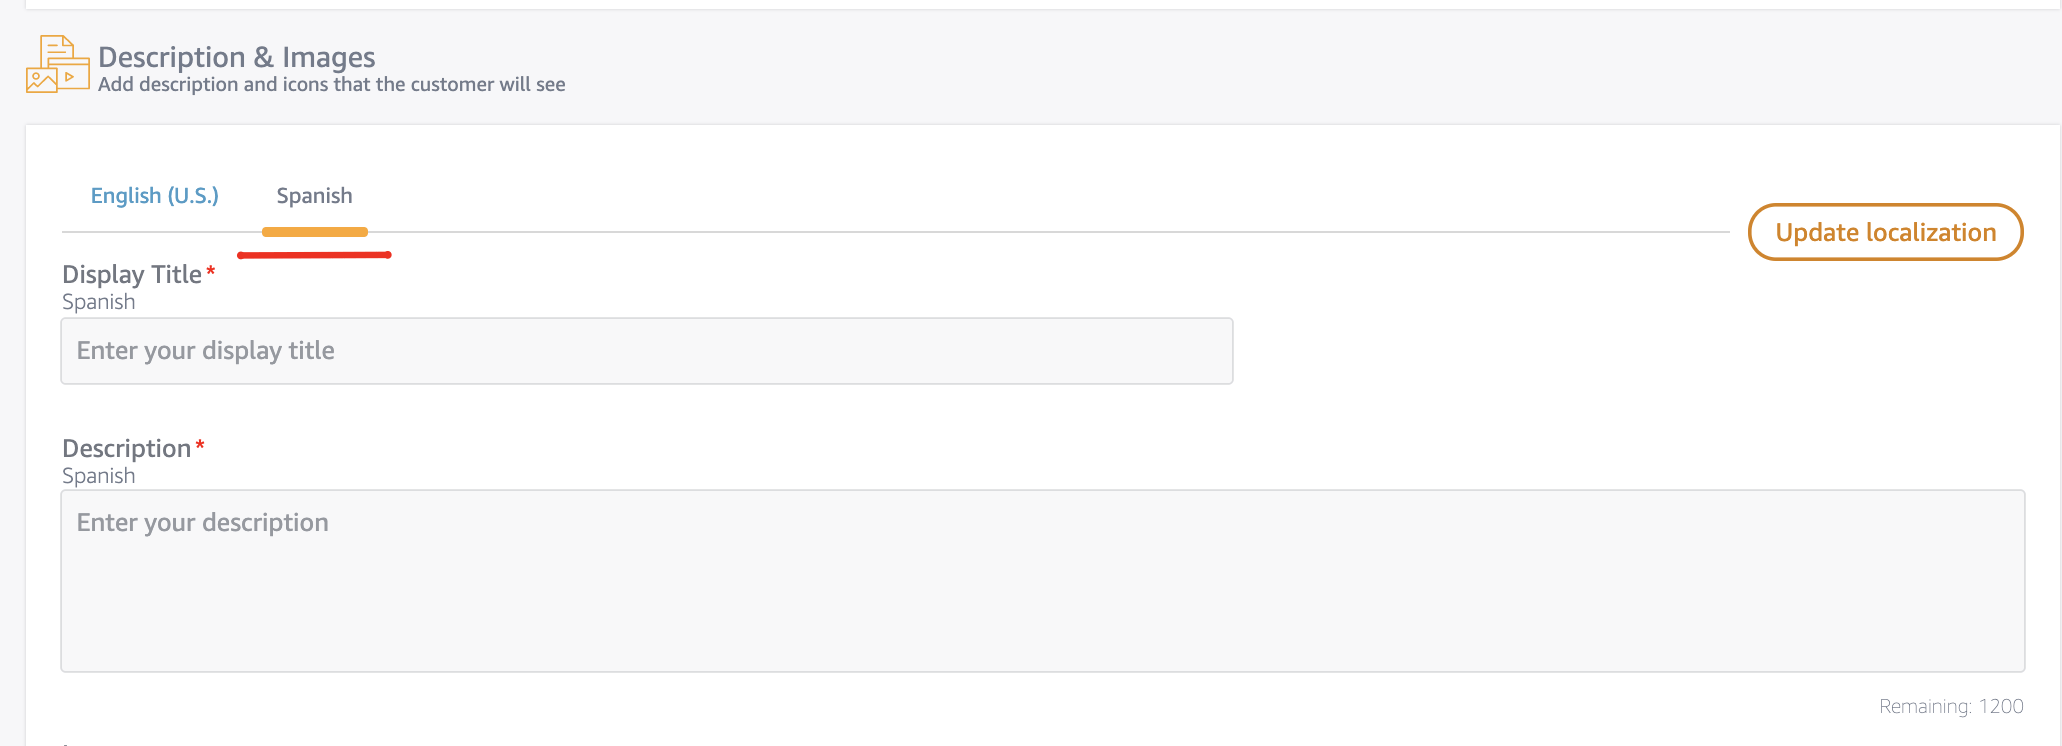
Add a Display Title and Description for every language.
Next, add an Icon for every language you support.
- Small icon (114px x 114px)
- Large icon (512px x 512 px)
Add Subscription Terms
- Term Period: This starts on the date of purchase. Valid values are Weekly, Bi-Weekly (every two weeks), Monthly, Bi-Monthly (every two months), Quarterly, Semi-Annually) (every six months), or Annually (every twelve months).
- Term SKU: This is the SKU that corresponds to this subscription term. This SKU is a child SKU of the SKU that you entered in the item detail page.
For the purpose of this example, we want to create an annual subscription that costs $49.99 with a 1 week free-trial:
Tips for creating robust term SKU
<app>_<price>_<duration>_<free trial duration>0
- app: Some prefix that will be unique to your app, since the same product Id cannot but used in any future apps you create.
- price: The price you plan to charge for the product in your default currency.
- duration: The duration of the normal subscription period.
- free trial duration: The duration of the trial period, if any.
For example, using this format the identifier for a product that has a yearly subscription with a one week trial for $49.99 USD would be:
rc_4999_1y_1w0
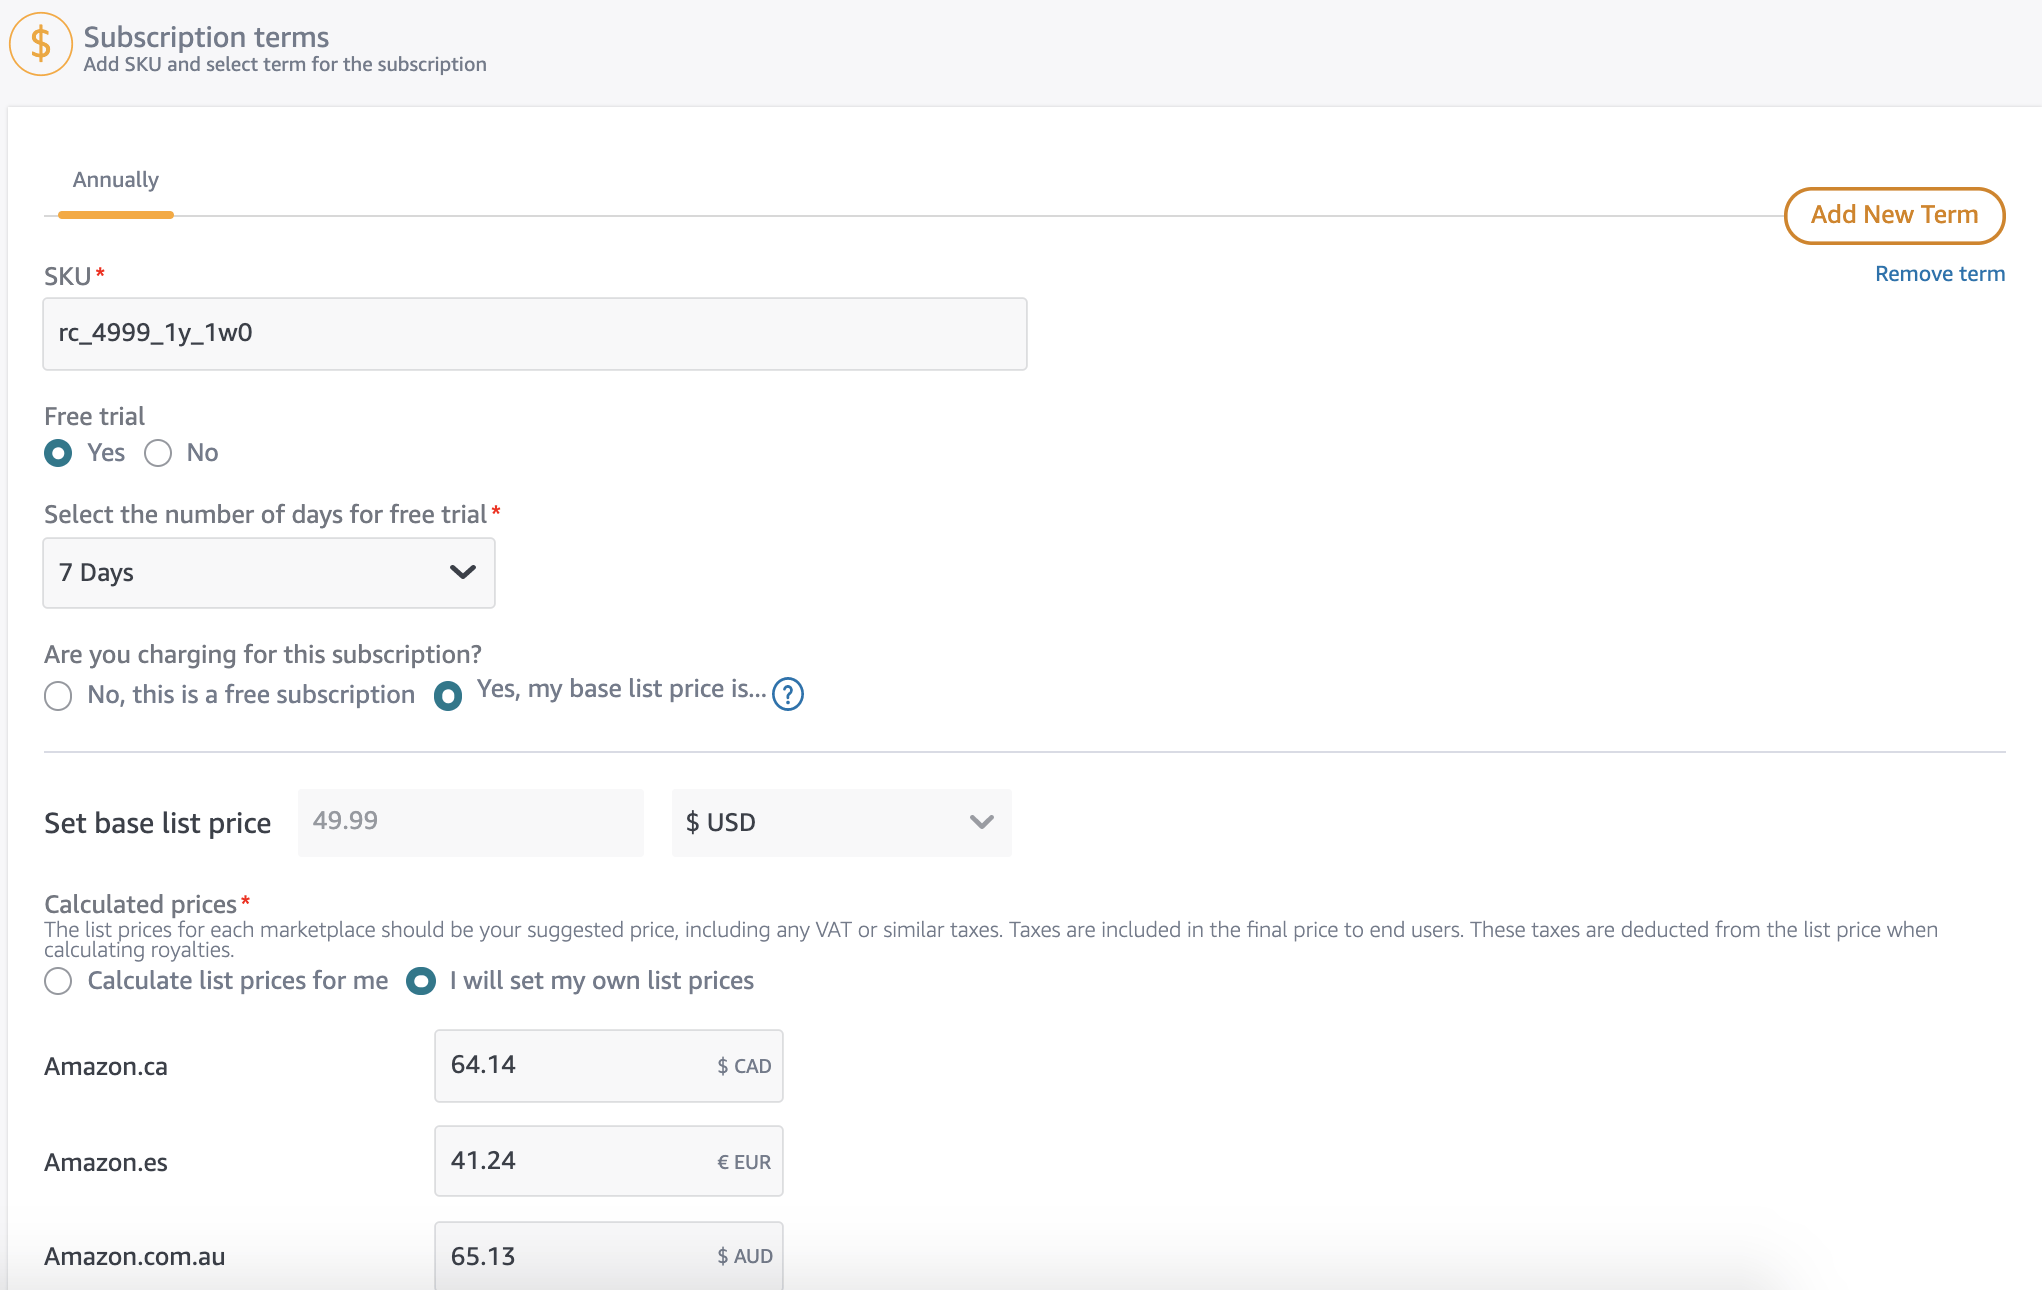
- Free Trial: Specify an optional free trial period for the subscription. Valid values are No (no free trial), 7 days, 14 days, 1 month, 2 months, and 3 months.
- Are you charging for this subscription?: Yes, if you are charging for the subscription, No, if the subscription will be free.
If you specify Yes, a field displays allowing you to set the base price and currency for the item. After you set the base price, you will have the option of either manually setting the price for other currencies, or allowing the Amazon Appstore to set those prices for you, based on conversion rates and taxes. Valid prices (in USD) can either be $0.00 or range from $0.99 to $299.99.
If your app offers additional subscription periods, repeat this section for all terms your app provides, such as Weekly, Monthly, Bi-Annually, and so on.
Once you are ready, click on 'Submit IAP' at the top of the page. If this button will remain greyed-out until you provide all of the required information for the in-app item.

Integrate with RevenueCat
If you're ready to integrate your new Amazon in-app product with RevenueCat, continue our product setup guide →.