Entitlements
Use Entitlements to manage access to content in your app
See Products Overview for more information on configuring products and importing them to RevenueCat.
RevenueCat Entitlements represent a level of access, features, or content that a user is "entitled" to. Entitlements are scoped to a project, and are typically unlocked after a user purchases a product.
Entitlements are used to ensure a user has appropriate access to content based on their purchases, without having to manage all of the product identifiers in your app code. For example, you can use entitlements to unlock "pro" features after a user purchases a subscription.
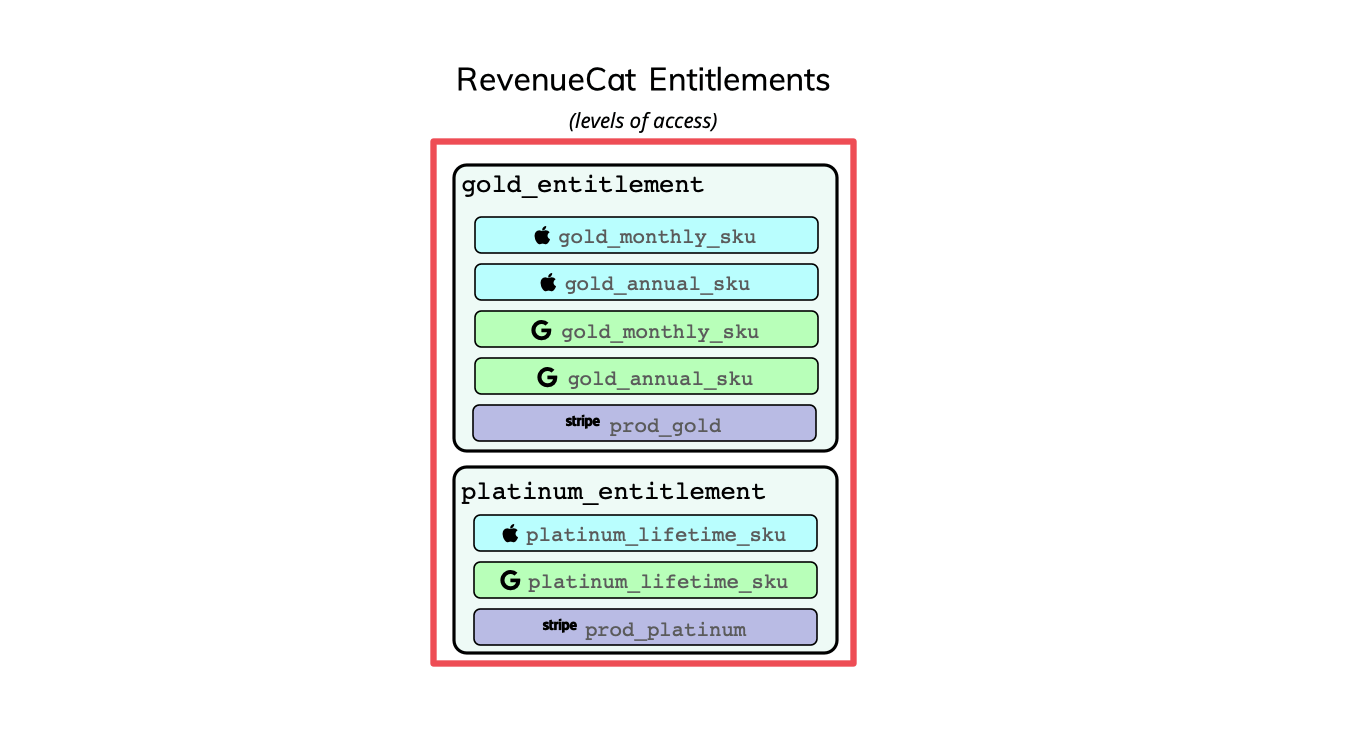
Most apps only have one entitlement, unlocking all premium features. However, if you had two tiers of content such as Gold and Platinum, you would have 2 entitlements.
A user's entitlements are shared across all apps contained within the same project.
Creating an Entitlement
To create a new entitlement, click Product catalog in the left menu of the Project dashboard, click the Entitlements tab, and click + New entitlement. You'll need to enter a unique identifier for your entitlement that you can reference in your app, like "pro".
Most apps only have one entitlement, but create as many as you need. For example a navigation app may have a subscription to "pro" access, and one-time purchases to unlock specific map regions. In this case there would probably be one "pro" entitlement, and additional entitlements for each map region that could be purchased.

Attaching Products to Entitlements
Once entitlements are created, you should attach products to entitlements. This lets RevenueCat know which entitlements to unlock for users after they purchase a specific product.
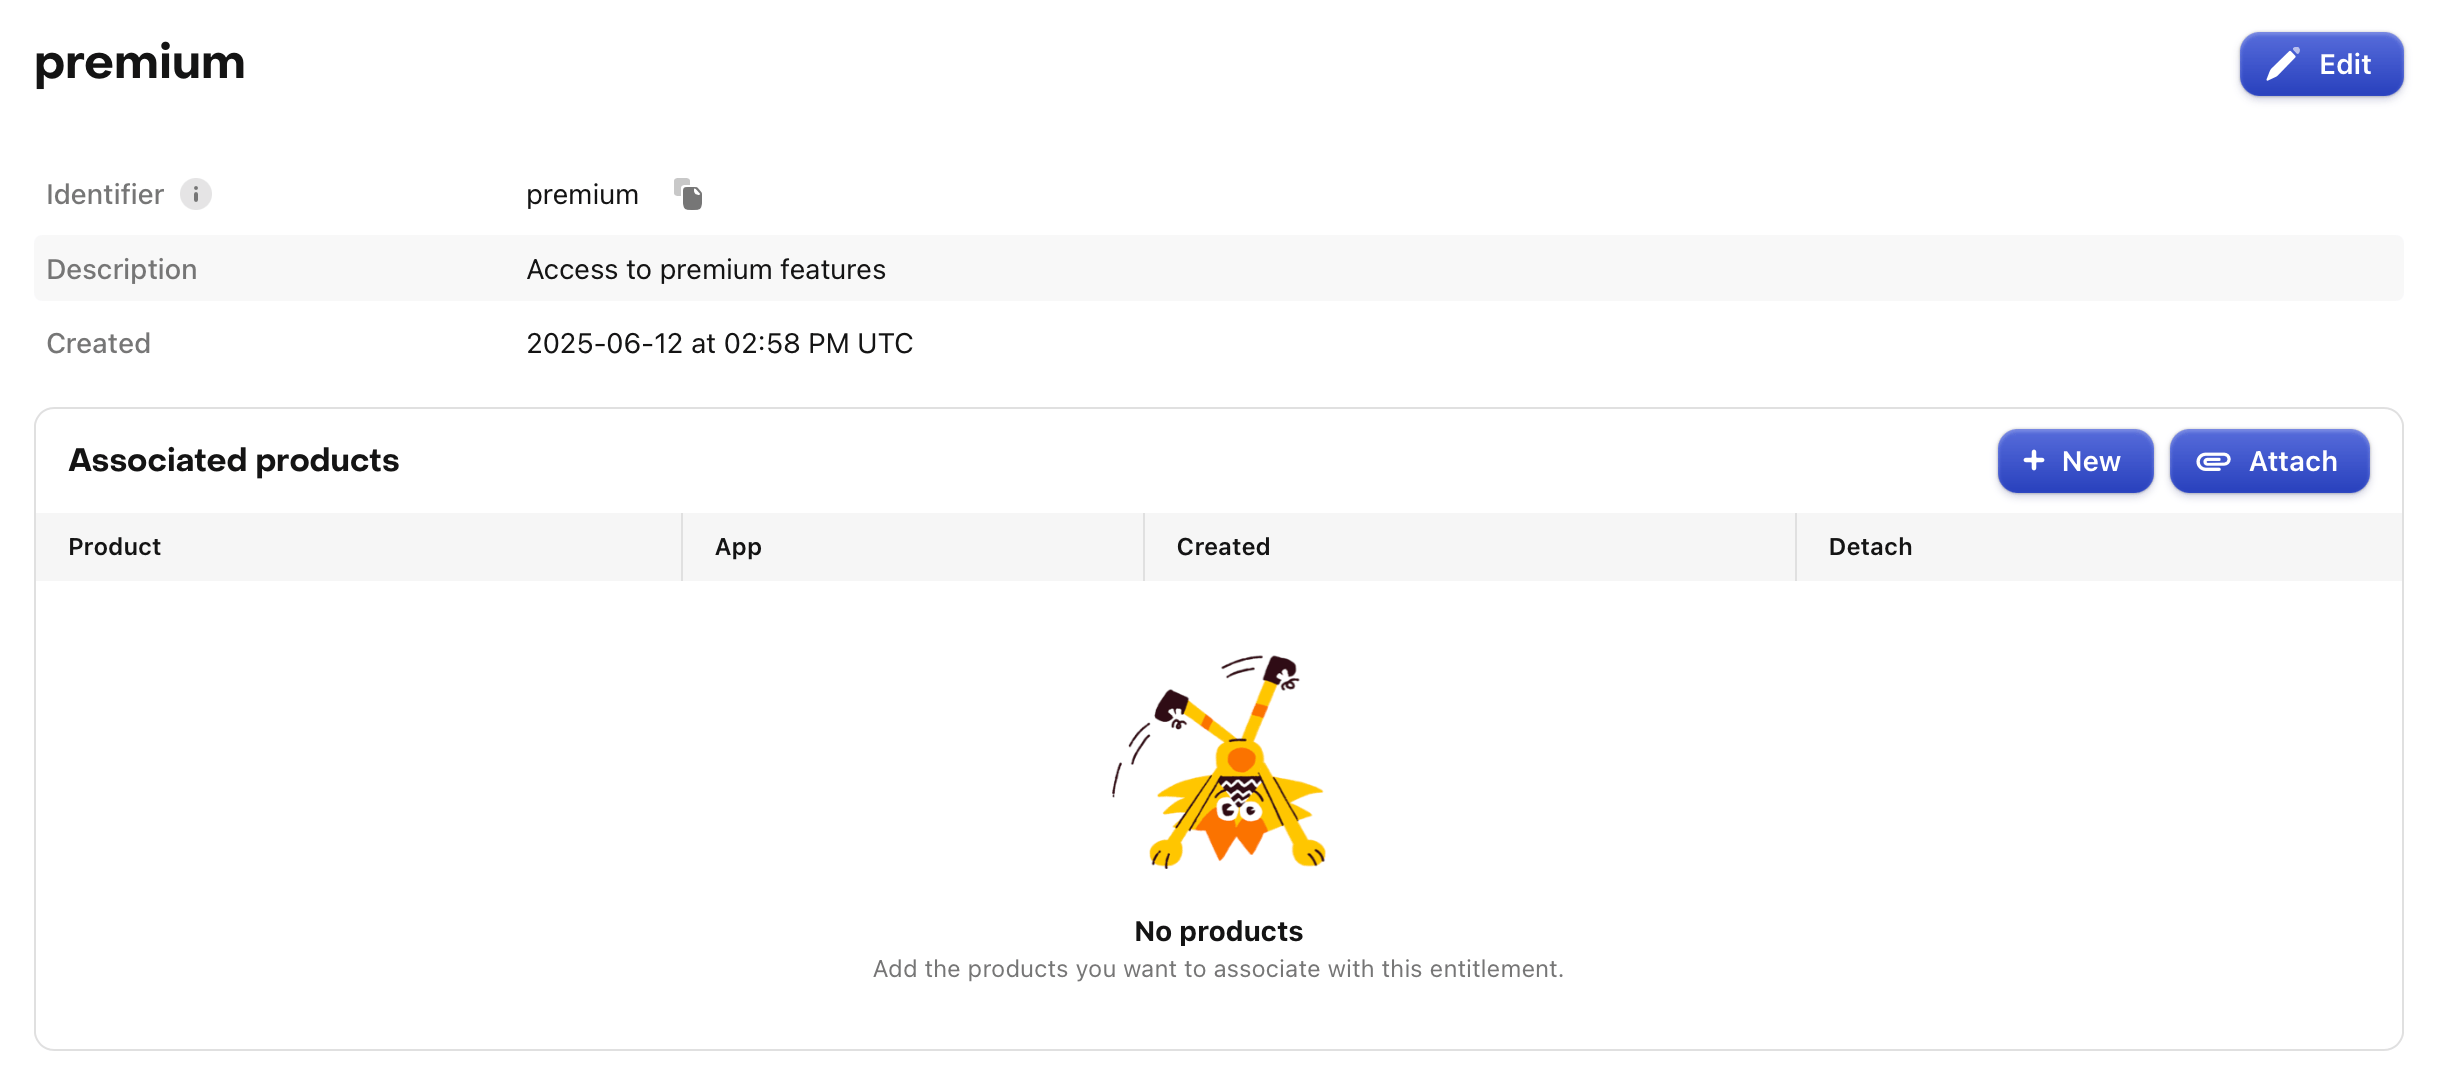
When viewing an Entitlement, click the Attach button to attach a product. If you've already added your products, you'll be able to select one from the list to attach.

When a product that is attached to an entitlement is purchased, that entitlement becomes active for the duration of the product. Subscription products will unlock entitlements for the subscription duration, and non-consumable and consumable purchases that are attached to an entitlement will unlock that content forever.
If you have non-subscription products, you may or may not want to add them to entitlements depending on your use case. If the product is non-consumable (e.g. lifetime access to "pro" features), you likely want to attach it to an entitlement. However, if it is consumable (e.g. purchase more lives in a game) you likely do not want to add them to an entitlement.
Attaching an entitlement to a product will grant that entitlement to any customers that have previously purchased that product. Likewise, detaching an entitlement from a product will remove it for any customers that have previously purchased that product.
When designing your Entitlement structure, keep in mind that a single product can unlock multiple entitlements, and multiple products may unlock the same entitlement.

When relying on entitlements to enable access to certain content, it's important that you remember to add new products to their associated entitlements if needed. Failing to add your products to an entitlement, could lead to your users making purchases that don't unlock access to the promised content.
Checking Entitlement Status
Since an entitlement represents a level of access that a user is entitled to, you'll want to check for entitlement status in your app to unlock the appropriate content. If an entitlement is active, you can unlock the associated content. If an entitlement is inactive, you can display a paywall to the user.
You can use the RevenueCat SDK to check for entitlement status, with the getCustomerInfo method. You can read more about checking subscription and purchase status in the Checking Subscription Status guide.
Next steps
If you've configured your entitlements, it's time to create an Offering.
Create an Offering →